April from Cowgirl Creations has written a wonderful tutorial using my Starrified Freebie Kit!!! Isn't it just wonderful?!? Thank you so much, April!!!


 This is from WitchysHeart from Creationz by WitchysHeart.
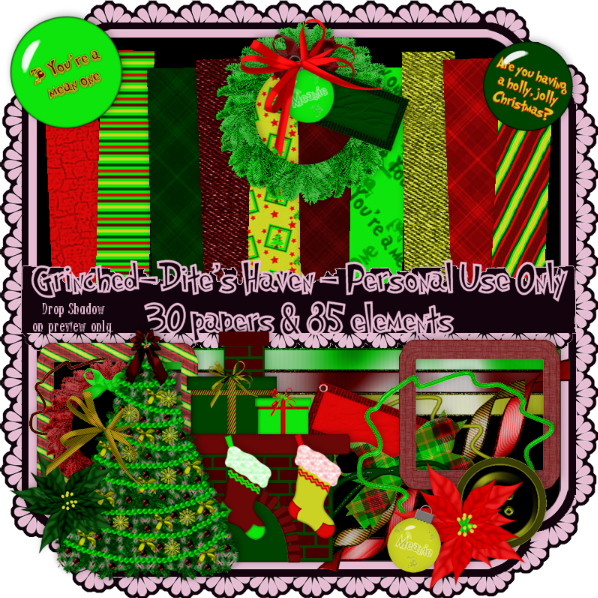

You can download this freebie HERE!
 Supplies
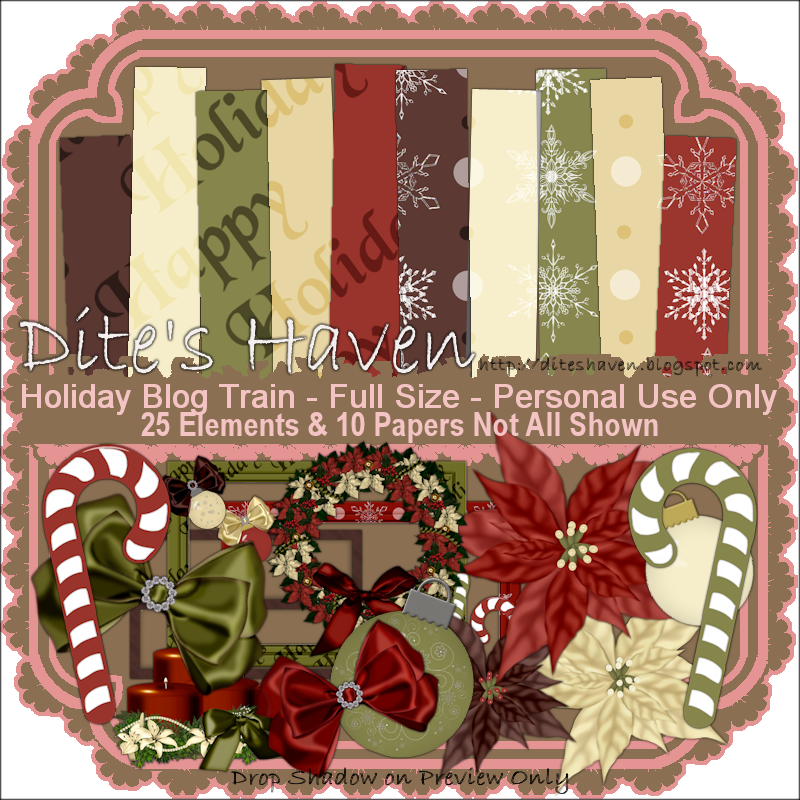 You can download my part HERE.
http://oceanmystdesigns.blogspot.com/
http://nettesnightowlworks.blogspot.com/
http://twinkydezines.blogspot.com/
http://bitsnpiecesofqbd.blogspot.com/
http://desertbloomdesigns.blogspot.com/
http://barkingpenguinscraps.blogspot.com/
http://gothicinspirations.blogspot.com/
http://mimiscreationz.blogspot.com/
http://sgrowedesigns.blogspot.com/
http://caysdesigns.blogspot.com/
http://www.michelles-angels.blogspot.com/
http://www.fearlessangels.com/blog/
http://debeedezines.blogspot.com/
http://rosemadedesigns.blogspot.com/
http://karen9417.blogspot.com/
http://pattywraps.blogspot.com/
http://www.alikasscraps.blogspot.com/
http://www.pimpyourscrapbook.com/
http://pimpmytagswithscraps.com/blog/
http://pimp-your-tags.blogspot.com/
http://www.darksistersstore.blogspot.com/
http://darkpheonixquietcorner.blogspot.com/
http://saphirasworld.de/scrapdesign
http://ellanoir.blogspot.com/
http://www.addicted2scrapz.blogspot.com/
http://debscrapbooks.blogspot.com/
http://polkadotscraps.blogspot.com/
http://blueridgemeadows.blogspot.com/
http://blackcherryscraps.blogspot.com/
http://designedbystinaagain.blogspot.com/
http://humbuggraphicsgalore.blogspot.com/
http://digitalblueprint.blogspot.com/
http://tootypupscraps.blogspot.com/
http://www.sacredcreation.blogspot.com// http://digitalcreationsfrommillstreamcottage.blogspot.com/
http://jbs2designs.blogspot.com/
http://graphicsbypokadot.blogspot.com/
http://digiscrapations.blogspot.com/
http://created-by-jill.blogspot.com/
http://diteshaven.blogspot.com/<----- YOU ARE HERE! http://angelsdigiscrap.blogspot.com/
http://staceysdesigns.blogspot.com/
http://snackpackgu.blogspot.com/
http://ladyannesscraps.blogspot.com/
http://countryhollowcreations.blogspot.com/
http://stickykissesdesigns.blogspot.com/
http://graphicsbyliz.blogspot.com/
http://lifewithshal.blogspot.com/
http://dolphinlover09.blogspot.com/
http://creationzbyjo.blogspot.com/
http://www.dazzlingscraps.blogspot.com/
http://heavensdesignz.blogspot.com/
http://hippiedazescrappinstuff.blogspot.com/
http://bluebird-ddu.blogspot.com/
http://my-blog-creationsbyg.blogspot.com/
http://chilidesignzz.blogspot.com/
http://josdzigns.blogspot.com/
http://i-dont-give-a-scrap.blogspot.com/
http://maureenwatlingdesigns.blogspot.com/
http://www.charlieonline.it/TheGoodieTrain.htm
http://wenchdesigns.blogspot.com/


Tube of Choice -
I am using the awesome artwork of Jose A. Cano, which you must have a license to use. Please do not use his work without purchasing a license from MPT, here.
Scrap Kit of Choice - I have used a gorgeous Greeny Pay to Use Kit by Shal, called Wintergreen Wonderland, which you can pick up at Mistaken Art.
Mask of Choice - I have used WSL_283 and WSL_289 by weescotslass which can be downloaded from her blog, Weescotslass Creations, here.
Font of Choice - I am using a font called Santas Big Secret and Black Chancery Which you can pick up at DaFont, here.
Plug-In Filters Needed - You need Mura Meister Copies and Eye Candy 4 for Gradiant Glow.
Now, Let's have some fun!
Let's open a new image, 600 by 600 pixels.
Open up LWS_WW_Frame 1.
Drag it over to the new image you just opened.
And close out the original image.
Add a drop shadow to you're frame of 0, 0, 100, 3.
Choose your tube and place it where you would like to.
I just let mine center when I drug it over.
Remember to cut off any excess part of the tube you don't want to show.
You can do this by using you're magic wand tool.
Add a drop shadow to you're tube of 0, 0, 100, 3.
Choose 1 of the papers.
I just picked a color. so I chose LWS_WW_Paper 12.Place you're paper underneath the frame (and, or tube if you put it underneath the frame).
Make sure you're frame layer is active and then Using you're selection tool, click on the inside of the frame.
Modify and then Expand by 5.
Selections, Invert, and delete on you're paper layer.
Selections, Selcet None.
Okay.. Let's give some character to our layer underneath the frame.
Minimize your tag for a minute.
Open a new image 600 by 600 pixels.
I am using the font Santas Big Secret.
Click on your font tool and set you're background color to #315d32.
Click in your new image and type the text Santa Baby and apply.
Hit Objects, Allign Center, and then Center in Canvas.Convert the text to a raster layer.
Now let's apply the filter, Mura Meister Copies to it.
Use the settings Line, Tile, Normal1, 50, 50, -6, 0, 0, 100, 4, 0, 30, 2
Go back to your tag
Find the your background layer underneath the frame.
Selections, Select All, Float, Defloat, Invert.
Drag your text layer over to your tag.
Hit Delete to erase all the excess away.Selections, Selcet None.
Now, let's add a background layer!
I chose LWS_WW_Paper 6. Just add it to you're background layer.
I added noise to mine.
You can do this by Adjust, Add/Remove Noise, Add Noise.
I used the settings Gaussian, 25, Monochrome checked.
Let's find a Mask now for our background!
I have applied WSL_289 mask to it and merged the group together.
Duplicate that layer.
Hit Image and then Mirror.
Then Hit Image again and Flip.
Merge those two layers together.
I have added a second background layer, underneath the one we just made.
I have chosen to use LWS_WW_Paper 17.
I have applied WSL_283 mask to it and merged the group together.
Merge the group together, and make sure it is underneath the original layer.
Now to add some elements!
Open up LWS_WW_Bells 2.
Resize them by 60%. and place one where you would like it on top of the snowflake on the top of the frame.
Duplicate the Bells and then Image, Mirror.
Merge the bells together.
Add a drop shadow to you're bells of 0, 0, 100, 3 color is black.
Open up LWS_WW_Double Bow 3.
Resize them by 40%.
Then we need to rotate them a bit.
Image, Free Rotate and Let's rotate them 15% to the left.
Place one where you would like it to cover the top edge of the bells.
Duplicate the Bows and then Image, Mirror.
Merge the bows together.
Add a drop shadow to you're bows of 0, 0, 100, 3 color is black.
Open up LWS_WW_Beads 1.
Resize them by 40%.
Then we need to rotate them a bit. Image, Free Rotate and Let's rotate them 15% to the left.
Place one where you would like it to cover the top edge of the bells.
Duplicate the Beads and then Image, Mirror.
Merge the bows together.
Add a drop shadow to you're beads of 0, 0, 100, 3 color is black.
Open up LWS_WW_Candle 3.
Resize them by 30%. and place one where you would like it on top of the snowflake on the bottom of the frame.
Duplicate the Candles and then Image, Mirror.
Merge the bells together.
Add a drop shadow to you're candles of 0, 0, 100, 3 color is black.
And then, randomly place some snowflakes around the frame.
Resize and rotate as needed to get you're placements right.
Place them where you would like, or use my completed tag as a reference.
Add you're copywrites and any other needed info to the tag.
Let's Add the name to our tag now!
I have used the font Santa's Sleigh Full - pixel size 18 - with a stroke width of 1I used the color #396c38 for my foreground color and #62af63 as my background.
Add your name.
Move it around towards the bottom of your tag somewhere, where you like it.
Then hit, Objects, Allign, Horizontal Center in Canvas.
Convert to a Raster Layer.
Let's add a gradiant glow to our name now.
Glow Width 3, Soft Corners 100, Overall Opacity 100, Draw Only Outside the Selection Checked.
I used a really light color from my tag and a darker one in the slider.
Opacity at 100%.
Add a drop shadow to you're name of 0, 0, 100, 3 color is black.
Merge visible and save!
All Done!


 Supplies